
### How to Wire Aurora LED Boat Lights to a Boat Switch Panel
Wiring Aurora LED boat lights to a boat switch panel can enhance your boating experience by providing better visibility and safety. Here’s a step-by-step guide to help you through the process:
Materials Needed:
- Aurora LED Lights: Choose the specific lights you want to install.
- Boat Switch Panel: Ensure it has available switches and adequate amperage capacity.
- Marine-Grade Wire: Use tinned copper wire, as it's corrosion-resistant. Gauge the wire based on the amperage draw and distance.
- Marine-Grade Connectors: Heat-shrink connectors are recommended for a watertight seal.
- Inline Fuse Holder and Fuse: Protect your wiring and lights from overcurrent.
- Wire Strippers, Crimpers, and Heat Gun: Essential tools for proper wiring.
- Multimeter: To test voltage and continuity.
- Drill and Appropriate Drill Bits: For mounting lights and running wires.
- Marine-Grade Silicone Sealant: To seal any holes and connections.
- Wiring Diagram: A schematic of your boat's wiring system (optional, but helpful).
Step 1: Plan Your Installation
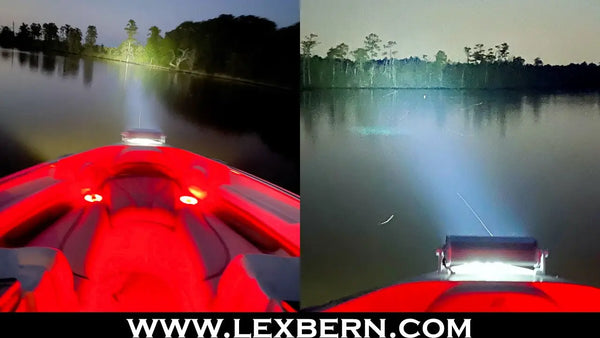
Before you start, plan the placement of your LED lights and switch panel. Ensure that the lights are positioned to provide optimal illumination without causing glare for the boat operator.
Step 2: Gather Your Tools and Materials
Make sure you have all the necessary tools and materials at hand. This will make the installation process smoother and more efficient.
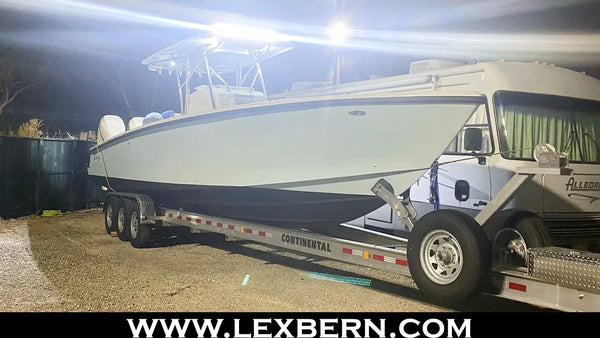
Step 3: Mount the LED Lights
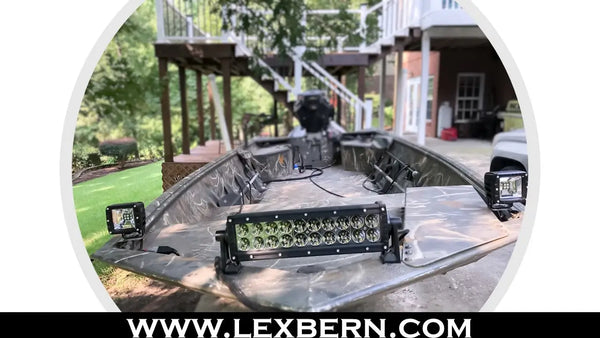
Securely mount the Aurora LED lights in the desired locations on your boat. Use appropriate mounting brackets and hardware to ensure they are stable and can withstand vibrations and rough waters.
Step 4: Install the Switch Panel
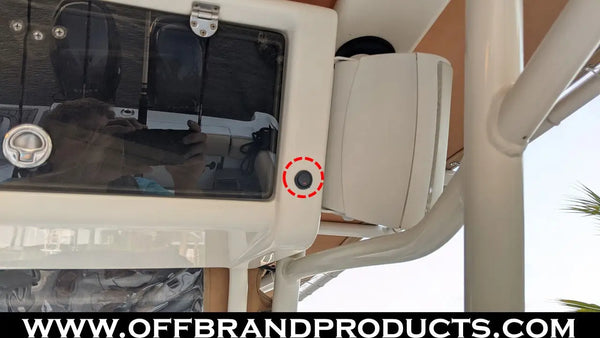
Mount the boat switch panel in a convenient location where you can easily access it while operating the boat. Ensure it is securely fastened and protected from water exposure.
Step 5: Run the Wiring
Use marine-grade wiring to connect the LED lights to the switch panel. Follow these steps:
1. **Measure and Cut Wires**: Measure the distance between the LED lights and the switch panel. Cut the wires to the appropriate length, leaving some extra length for adjustments.
2. **Strip the Wires**: Use wire strippers to remove the insulation from the ends of the wires.
3. **Connect the Wires**: Connect the positive (red) wire from the LED lights to the positive terminal on the switch panel. Connect the negative (black) wire from the LED lights to the negative terminal on the switch panel.
4. **Use Wire Connectors**: Use wire connectors to secure the connections. Crimp the connectors to ensure a tight and secure fit.
5. **Protect the Connections**: Use heat shrink tubing and electrical tape to protect the connections from water and corrosion.
Step 6: Install an Inline Fuse
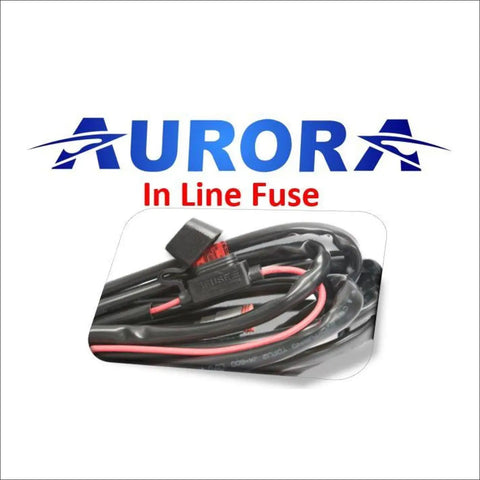
To protect the circuit, install an inline fuse between the switch panel and the battery. This will prevent any potential damage from power surges.
Step 7: Connect to the Power Source
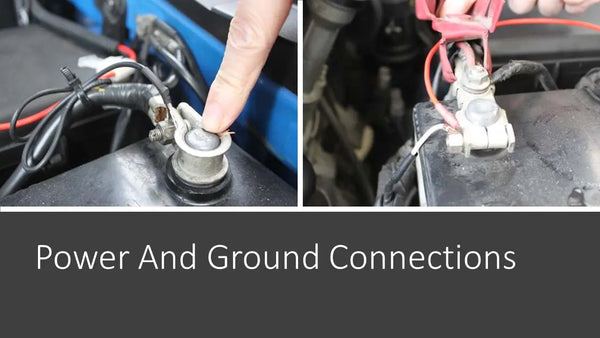
Connect the switch panel to the boat’s 12V battery. Ensure that the connections are secure and protected from water exposure.
Step 8: Test the Lights
Once everything is connected, test the LED lights to ensure they are functioning correctly. Turn on the switch panel and check each light to make sure it is working properly.
Step 9: Secure and Organize the Wiring
Use plastic clips and tie wraps to secure and organize the wiring along the boat structure. This will prevent any loose wires from causing issues or getting damaged.
Step 10: Regular Maintenance
Regularly inspect the lights and wiring for any signs of wear or damage. Clean the lights to maintain their brightness and effectiveness.
Safety Precautions:
- Always disconnect the boat's battery before working on the electrical system.
- Use marine-grade wiring and connectors to prevent corrosion.
- Install fuses to protect your wiring and lights.
- If you're unsure about any aspect of the wiring process, consult a qualified marine electrician.
By following these steps, you can successfully wire Aurora LED boat lights to a boat switch panel, enhancing your boating experience with improved visibility and safety. Happy boating!
Shop Marine LED Lights
Need help selecting new marine LED lights for your boat?
Feel free to reach out to us by any of the methods listed below:
Phone: 484-513-7746
Email: support@offbrandproducts.com
Online Chat: Click the Chat button to be connected with a representative.