
Overlanding adventures often extend beyond daylight hours. Navigating rugged terrain in the dark demand's proper illumination, and that's where off-road LED lights mounted on your roof rack become essential. This post will guide you through the process of wiring these lights, ensuring you're ready to conquer the night.
Before You Begin: Planning & Preparation
Before grabbing your tools, careful planning is crucial. Consider these factors:
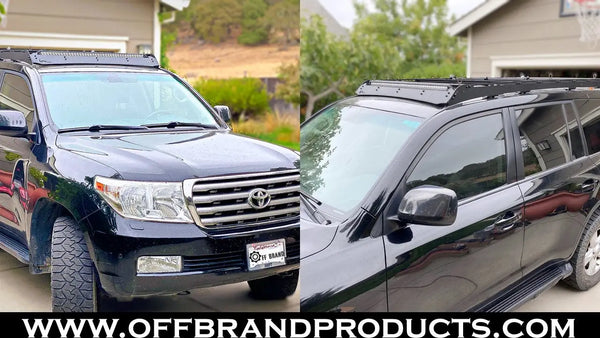
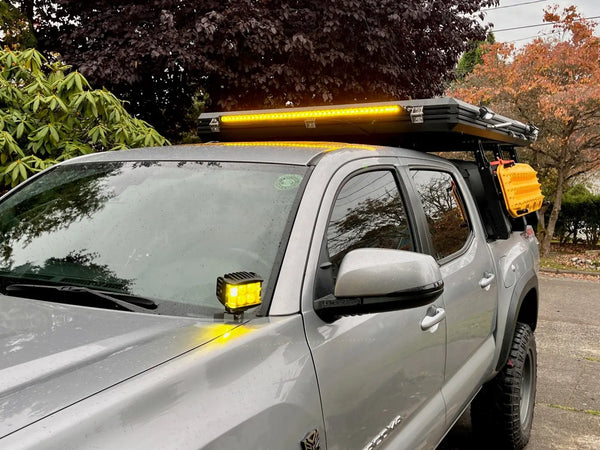
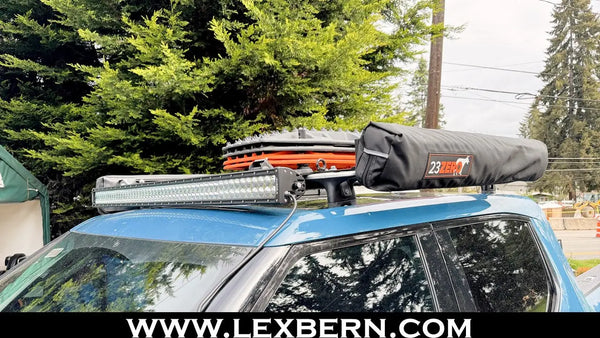
- Light Placement & Type: Where do you want your lights positioned? Wide Angle Scene lights, floodlights, Amber or a combination? Research different LED light types and choose what suits your needs.
- Wiring Diagram: A wiring diagram is your roadmap. Sketch out how you plan to connect everything, including the lights, switch, relay, and power source. Many diagrams are available online, tailored to specific setups. Find one that closely matches your plan. When you purchase one of our light bars they come with a full wiring harness.
- Safety First: Disconnect the negative battery terminal before starting any electrical work. This prevents accidental shorts and potential damage.
-
Gather Your Supplies: Here's a basic list:
- LED Lights (obviously!)
- Wiring (appropriate gauge for the amperage of your lights)
- Relay (rated for the combined wattage of your lights)
- Fuse and Fuse Holder (protects your circuit)
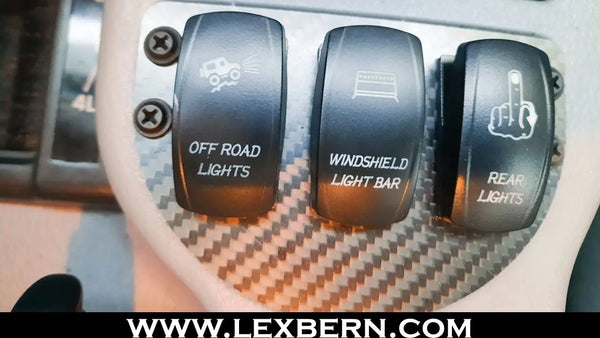
- Switch (choose one rated for the current your lights draw)
- Connectors (butt connectors, spade connectors, etc.)
- Electrical Tape or Heat Shrink Tubing (for insulation)
- Zip Ties (for organizing wires)
- Tools: Wire strippers, crimpers, pliers, drill (if needed), multimeter (optional but helpful)

The Wiring Process: Step-by-Step
-
Mount the Lights: Securely mount your LED lights to your roof rack. Ensure they are aimed correctly and won't interfere with anything.
-
Run the Wiring: Route the wiring from the lights down to your desired switch location. Try to follow existing wiring harnesses or frame rails for a clean and protected installation. Use zip ties to secure the wires and prevent them from dangling or rubbing against anything.
-
Install the Relay: The relay acts as a switch controlled by your in-cab switch, handling the higher current draw of the lights. Mount the relay in a convenient location, often near the battery or fuse box.
-
Wiring the Relay: This is where your wiring diagram becomes your best friend. Here's a general overview:
- Power to Relay (Pin 30): Connect a wire from the positive battery terminal (through a fuse holder) to pin 30 on the relay. This is the main power feed.
- Ground to Relay (Pin 85): Connect a wire from a suitable ground point on the vehicle chassis to pin 85 on the relay.
- Switch to Relay (Pin 86): Connect a wire from your chosen switch location to pin 86 on the relay. This is the control wire.
- Relay to Lights (Pin 87): Connect a wire from pin 87 on the relay to the positive wire of your LED lights.
- Ground to Lights: Connect the negative wire of your LED lights to a suitable ground point on the vehicle chassis.
-
Wiring the Switch: Connect the wire from relay pin 86 to one terminal of your switch. Connect another wire from the switch to a 12V power source in your vehicle's interior (often found in the fuse box or by tapping into an existing circuit).
-
Testing: Before buttoning everything up, reconnect the negative battery terminal and test your lights. Flip the switch and ensure the lights turn on and off correctly. If not, double-check your wiring and connections.
-
Finishing Touches: Once everything works, tidy up your wiring using zip ties and electrical tape or heat shrink tubing. This will protect the wires and prevent them from rattling or getting snagged.
Important Considerations:
- Wire Gauge: Use the correct wire gauge for the amperage of your lights. Undersized wires can overheat and cause a fire. Consult a wiring chart or the specifications of your lights.
- Fusing: Always use a fuse to protect your circuit. Choose a fuse rating slightly higher than the combined amperage of your lights.
- Waterproofing: Ensure all connections are properly sealed to prevent water damage, especially if your lights are exposed to the elements.
- Professional Help: If you're not comfortable with electrical work, it's always best to seek professional help. A qualified auto electrician can ensure the job is done correctly and safely.
By following these steps, you'll be well on your way to illuminating your overlanding adventures. Remember to double-check your wiring diagram and take your time. With a little patience and attention to detail, you can conquer the night and explore with confidence.
Shop now
Still have questions about which is the best LED Roof Rack lights for your overland rig?
Feel free to reach out to us by any of the methods listed below:
Phone: 484-513-7746
Email: support@offbrandproducts.com
Online Chat: Click the Chat button to be connected with a representative.