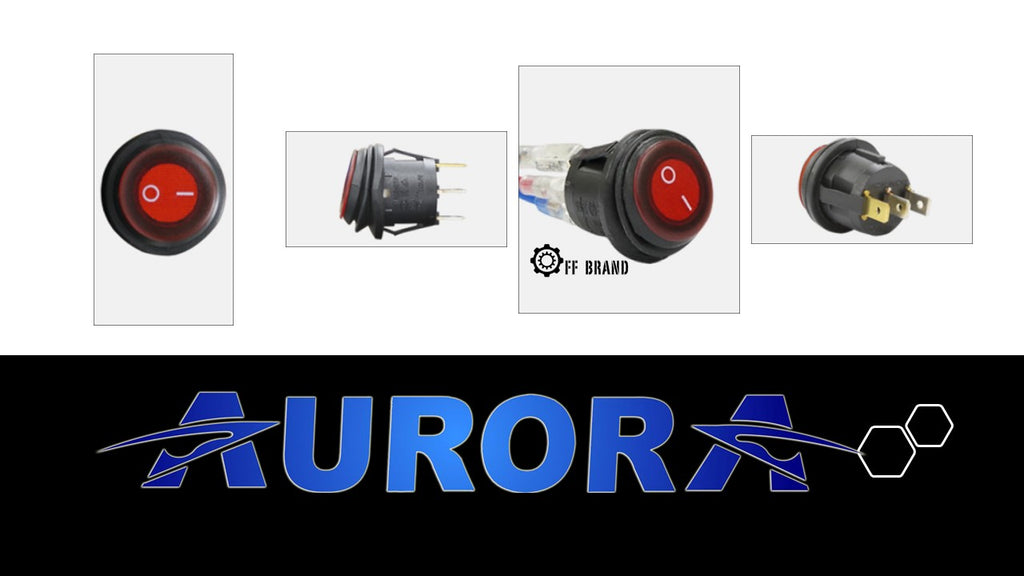
Our last light bar wiring article was about the wiring of a 5-pin rocker switch for a light bar, so we figured we would do the same for a light bar set-up that utilizes a 3-pin switch. Wiring a 3-pin switch to your light bar is much easier than a 5 pin rocker switch and also much easier to explain.
About the 3 Pin Switch
One of the most inexpensive means of installing a light bar is the utilization of a 3-pin light bar switch. These round light bar switches have a generic appearance which means they can blend seamlessly with the interior of any ATV, truck, Jeep or boat. This is also the primary reason why all Aurora light bars include a 3-pin switch with the wiring harnesses.
Unlike the 5 Pin light bar rocker switch this light bar will not illuminate with your vehicles factory lighting system. The light bar switch is only equipped with one red LED light that will only come on when the switch is activated.
It’s the law
When it comes to installing aftermarket auxiliary lighting on your vehicle you need to cognizant of your state’s laws. For example, here in the state of Pennsylvania you are required to have light bar switch that illuminates when the light is on. The purpose of this law is they want to make sure the driver knows when the auxiliary light bar is on, so you don’t blind oncoming traffic.
Back of the 3 Pin Light Bar switch
When we look at the back of the 3-pin light bar switch we notice three electrical terminals. To easily explain how the light bar switch works we will start from number three.

#3 – The bottom terminal is the ground or negative terminal. This wire will go to your battery’s negative battery terminal.
#2 – The middle terminal is the 12-volt supply or positive terminal. This wire will go to your battery’s positive battery terminal.
#1 – The top terminal supply’s your light bar with the 12-volt power when you turn the light bar switch to the on position. This is the wire that goes to the relay in your light bar wiring harness.


